Nikon Laser Radar & SA
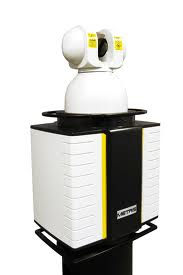
 The Laser Radar from Nikon Metrology is a unique portable metrology instrument that possesses a combination of portability, precision, non-contact capability, large measurement volume, and automated measurement. It is widely used in aerospace manufacturing, as well as other industries including automotive manufacturing, shipbuilding, composites, wind turbines, and telescopes.
Nikon Laser Radar & SA
The Laser Radar from Nikon Metrology is a unique portable metrology instrument that possesses a combination of portability, precision, non-contact capability, large measurement volume, and automated measurement. It is widely used in aerospace manufacturing, as well as other industries including automotive manufacturing, shipbuilding, composites, wind turbines, and telescopes.
The Laser Radar can also take measurements from a long standoff distance (up to 50  meters), which allows for measurement of tiny features and hard to access areas because a probe or target is not needed. It is also capable of discrete point measurement plus scanning.
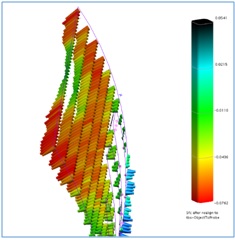
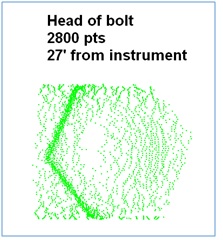
The first SpatialAnalyzer (SA) image below depicts a high precision measurement of an aircraft fuselage section with discrete points (the beam stopping at every point). In this mode it takes a little less than one point per second and typically yields an RMS of around 0.001”. The second SA image below, the head of a bolt was scanned (beam doesn’t stop) in just a few minutes. The RMS error of the scan was about 0.004”.


SA and the Laser Radar have worked together for many years and offer metrologists unique functionality. In fact, there are several functions in SA that have been developed specifically for use with the Laser Radar. These capabilities include perimeter entity, surface-vector intersection, and the cloud viewer.
Additionally, SA and Laser Radar technology are both designed for automation. Using SA’s Measurement Plan scripting language with the Laser Radar can easily drive measured points or scanning, to the point that processes can be automated so that production workers (as opposed to metrology workers) can operate the system for inspection and even metrology-guided manufacturing applications.
Sign up to receive our eNewsletter and other product updates by clicking here.